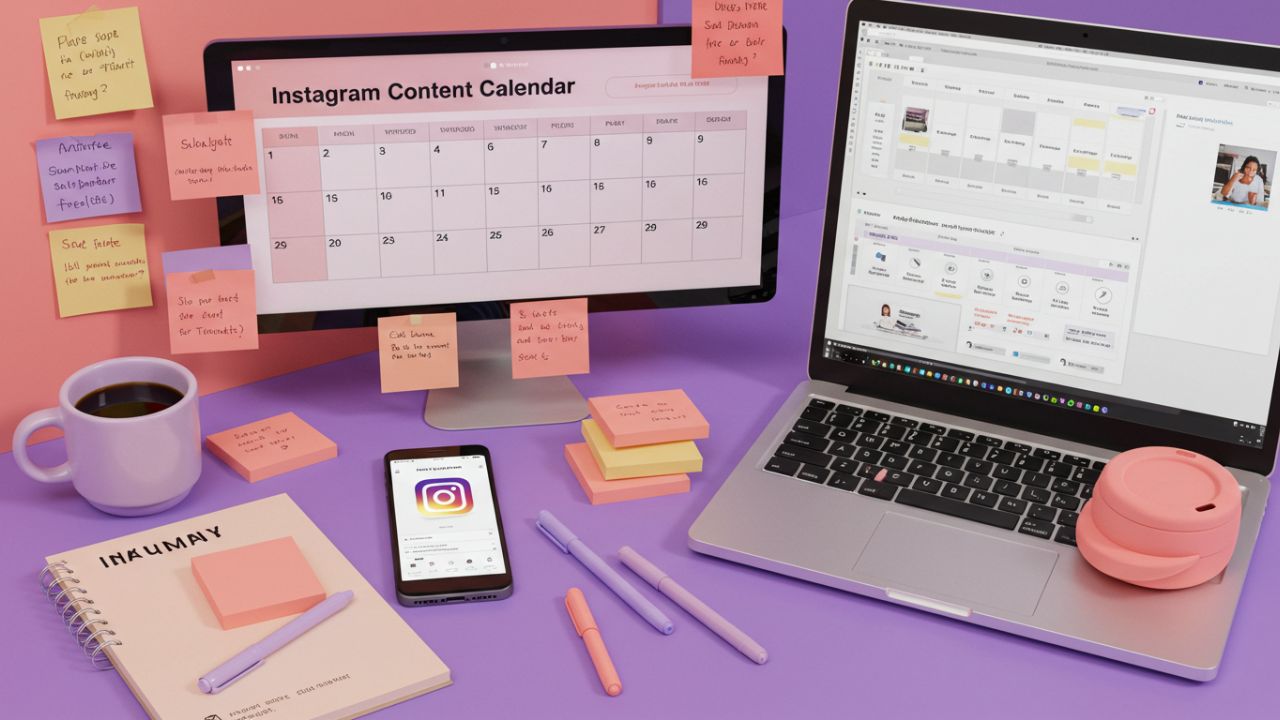
Creating a successful Instagram content calendar is both an art and a science. It involves creativity, organization, data analysis, and strategic thinking. Whether you’re a brand, influencer, small business, or content creator, having a well-structured Instagram content calendar can save you time, help you stay consistent, and optimize your engagement. In this comprehensive guide, you’ll learn how to plan, build, and maintain a powerful Instagram content calendar step-by-step.
Why You Need an Instagram Content Calendar
Before diving into the “how,” let’s start with the “why.”
- Consistency: Posting regularly keeps your audience engaged and builds trust.
- Efficiency: Plan content ahead of time and avoid last-minute panic.
- Better Strategy: Align content with your marketing goals.
- Improved Quality: More time to design visuals, write captions, and review.
- Performance Tracking: Easier to measure what works and what doesn’t.
Step 1: Define Your Instagram Goals
Start with the end in mind.
- Do you want more followers?
- Increase website traffic?
- Promote a product or service?
- Build brand awareness?
- Educate or entertain your audience?
Your goals will determine what type of content to post and how often.
Step 2: Understand Your Audience
Knowing your audience is key to creating content that resonates. Ask yourself:
- What are their interests and pain points?
- When are they most active?
- What kind of content do they engage with most (reels, stories, carousels, static posts)?
Use Instagram Insights or tools like Hootsuite or Later to analyze audience behavior.
Step 3: Audit Your Existing Content
Look at your past 30-60 days of posts. Use a simple audit sheet:
| Metric | Post A | Post B | Post C |
|---|---|---|---|
| Likes | 150 | 87 | 214 |
| Comments | 25 | 10 | 30 |
| Saves | 40 | 15 | 60 |
| Reach | 3000 | 1200 | 3500 |
| Type (Reel/Post/Story) | Reel | Post | Reel |
| Topic | Tips | Promo | Humor |
Identify trends: what type of content performs best? What day/time sees the most engagement?
Step 4: Choose Your Content Pillars
Content pillars are themes you consistently post about. This gives your audience clarity and helps you maintain focus.
Example Content Pillars:
- Education (Tips, How-Tos)
- Inspiration (Quotes, Stories)
- Entertainment (Memes, Reels)
- Behind-the-scenes (BTS, Office Culture)
- Product/Service Highlights
Use 3–5 core pillars to balance variety with consistency.
Step 5: Decide on Your Posting Frequency
Quality over quantity, but consistency is non-negotiable.
Suggested Frequencies:
| Type | Frequency |
| Feed Posts | 3-4 times/week |
| Reels | 2-3 times/week |
| Stories | Daily |
| Lives | Weekly/Monthly |
Your frequency may vary depending on resources. Start small and scale.
Step 6: Choose a Calendar Tool
Here are some tools to build your calendar:
- Google Sheets/Excel (Free & customizable)
- Notion (Flexible database and calendar view)
- Trello (Visual Kanban style)
- Airtable (Hybrid spreadsheet/database)
- Social Media Tools: Later, Planoly, Buffer, Hootsuite
Create columns for:
- Date
- Day of Week
- Time
- Content Pillar
- Caption
- Visual/Media
- Hashtags
- CTA
- Status (Draft/Scheduled/Posted)
Step 7: Brainstorm and Plan Content
Use your content pillars to ideate:
Example for “Education” Pillar:
- “5 tips to grow your Instagram fast”
- “How to write better captions”
- “Tools to make reels quickly”
For “Behind-the-Scenes”:
- “How we brainstorm content as a team”
- “Our office space tour”
Plan at least 1 month in advance.
Step 8: Create and Organize Visuals
Batch-create visuals using tools like:
- Canva
- Adobe Express
- InShot (for Reels)
Save and name files logically: 2025-08-10-education-5tips.png
Store them in organized folders by month or pillar.
Step 9: Write Captions with Purpose
Good captions:
- Tell a story
- Ask a question
- Offer value
- Include a CTA (Call to Action)
Caption Framework Example:
- Hook: Grab attention in first 2 lines
- Body: Deliver the message
- CTA: Ask for engagement (“Double tap if you agree!” or “What do you think? Comment below!”)
Add emojis, line breaks, and relevant hashtags.
Step 10: Schedule and Publish
Use scheduling tools:
- Meta Business Suite (free for Instagram/Facebook)
- Later, Buffer, Planoly, Hootsuite
Batch-schedule posts weekly or bi-weekly.
Step 11: Monitor, Analyze, and Adapt
Track performance weekly or monthly:
| Metric | This Month | Last Month | Growth |
| Followers | 10,000 | 9,200 | +8.7% |
| Engagement Rate | 5.2% | 4.8% | +0.4% |
| Reach | 70,000 | 60,000 | +16.7% |
| Profile Visits | 3,500 | 3,000 | +16.6% |
Evaluate which pillars perform best. Adjust content types, timing, and visuals accordingly.
Final Tips for Success
- Be flexible — trends and engagement habits shift.
- Stay on brand visually and tonally.
- Keep learning: follow successful creators for inspiration.
- Engage with your audience actively.
- Repurpose top-performing content.
Planning a content calendar doesn’t mean losing spontaneity. You can always post real-time stories or trending content when opportunities arise.
With this system in place, you’ll avoid content droughts, increase visibility, and build a stronger presence on Instagram.

Leave a Reply