Creating a compelling Instagram Reel in a single, uninterrupted 60-second take is both an art and a skill. This guide dives deep into the strategies, tools, and mindset needed to master the challenge. Whether you’re a content creator, a brand, or just exploring your creativity, recording a seamless 60-second reel will elevate your content.
Why Go Uncut?
Uncut Reels offer:
- Authenticity: Audiences crave realness.
- Efficiency: One take, less editing.
- Challenge: Showcases skill and preparation.
- Algorithm Boost: The Instagram algorithm favors watch time and engagement, and uncut reels often keep people watching.
Step 1: Plan Meticulously
1. Define Your Message
What do you want to say or show in exactly 60 seconds? Narrow down your concept to one clear idea or story.
2. Write a Script
Even if it feels informal, scripting keeps you on track. Include:
- Intro (0-5 sec)
- Core message/demo (5-45 sec)
- Call to Action (CTA) or conclusion (45-60 sec)
3. Storyboard Visually
Break the script into visual beats to ensure pacing makes sense.
4. Time It
Do a dry run with a stopwatch. Trim or pad sections as needed.
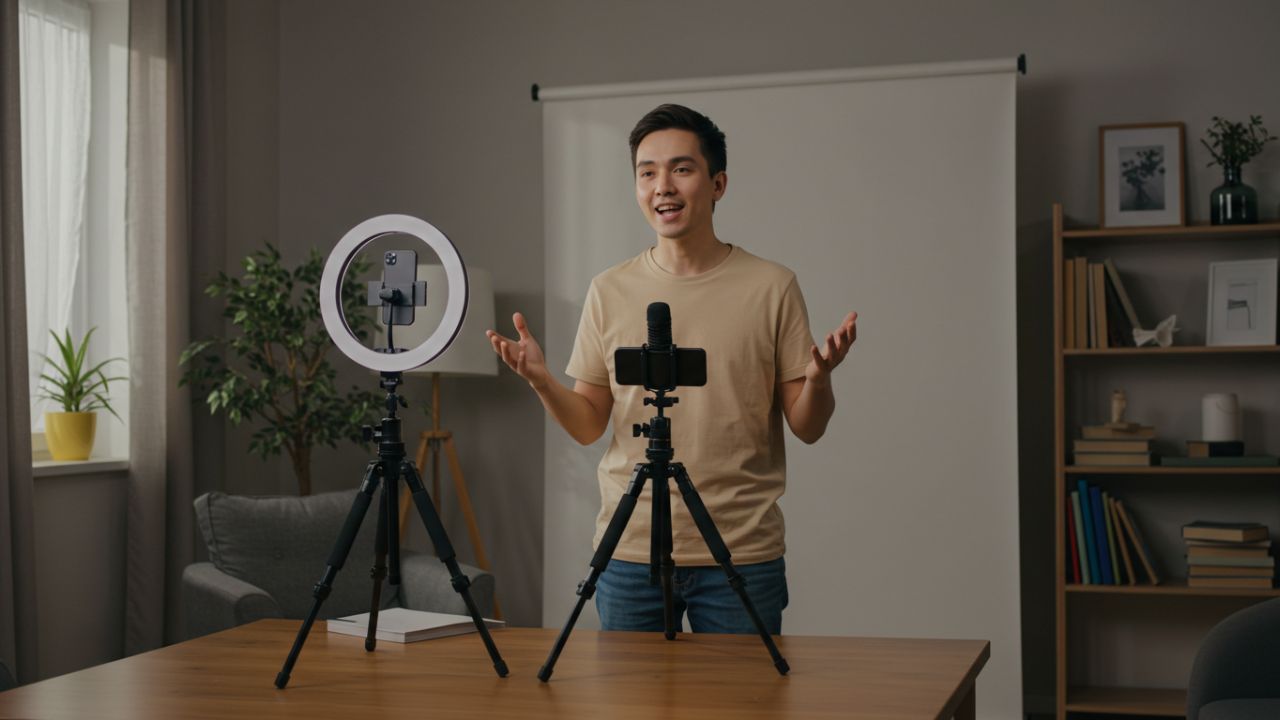
Step 2: Prepare Your Environment
1. Lighting
Use natural light or softboxes. Position lighting to avoid harsh shadows and overexposure.
2. Background
A clean, aesthetically pleasing background keeps focus on you. Use depth and color wisely.
3. Noise Control
Avoid background sounds. Use external mics or lapels for clear audio.
4. Stabilization
Use a tripod, gimbal, or even lean your phone against a stable surface.
Step 3: Know Your Gear
Smartphone Settings:
- Resolution: 1080p or higher.
- Frame Rate: 30fps is standard for Reels.
- Lens: Use the back camera for higher quality.
Optional Accessories:
- Wireless mic
- Ring light
- Bluetooth clicker for hands-free start
Step 4: Practice in Sections
Don’t jump into full takes immediately. Divide your reel into three 20-second parts and rehearse each until fluent.
Tips:
- Speak slowly and clearly.
- Use gestures to emphasize key points.
- Keep facial expressions natural and warm.
Step 5: Record
1. Framing
Use the rule of thirds. Don’t center yourself too tightly.
2. Take Multiple Takes
Even pros don’t get it perfect in one try.
3. Use Instagram Reels Timer
The built-in countdown helps you prep.
4. Manual Focus and Exposure Lock
Most phones allow you to lock focus/exposure by long-tapping. This prevents unexpected shifts.
Step 6: Edit Lightly (Optional)
Though the reel is uncut, you can still:
- Add subtitles
- Adjust brightness or contrast
- Overlay music
- Add stickers or filters
Don’t trim or slice the video—that defeats the purpose.
Step 7: Optimize for Posting
1. Caption
Summarize or tease the content. Add CTAs.
2. Hashtags
Use 5-10 relevant ones.
3. Cover Image
Choose a frame or upload a graphic to maintain aesthetic cohesion.
4. Schedule Wisely
Post when your audience is most active.
Real-Life Examples
Example 1: 60-Second Cooking Demo
- Goal: Show how to make a smoothie.
- Script: Ingredients intro, step-by-step blending, final reveal.
- Tools: Tripod, ring light, wireless mic.
Example 2: Motivational Talk
- Goal: Share one insight.
- Script: Problem, solution, takeaway.
- Tools: Phone mic, natural light, urban background.
Pro Tips
- Smile with your eyes: Energy translates on camera.
- Keep moving: Slight motion keeps viewers engaged.
- Nail the hook: First 3 seconds must grab attention.
- One-take doesn’t mean unprepared: Practice is everything.
Common Mistakes
- Rushing through the message
- Poor lighting or audio
- Long intros or slow starts
- Not planning content pace
Final Thoughts
Recording a 60-second reel without cuts demands forethought, practice, and presence. But once you master it, your content will feel more authentic, dynamic, and engaging. And the confidence you gain from nailing the format? Unmatched.
Embrace the challenge and hit record!
Leave a Reply