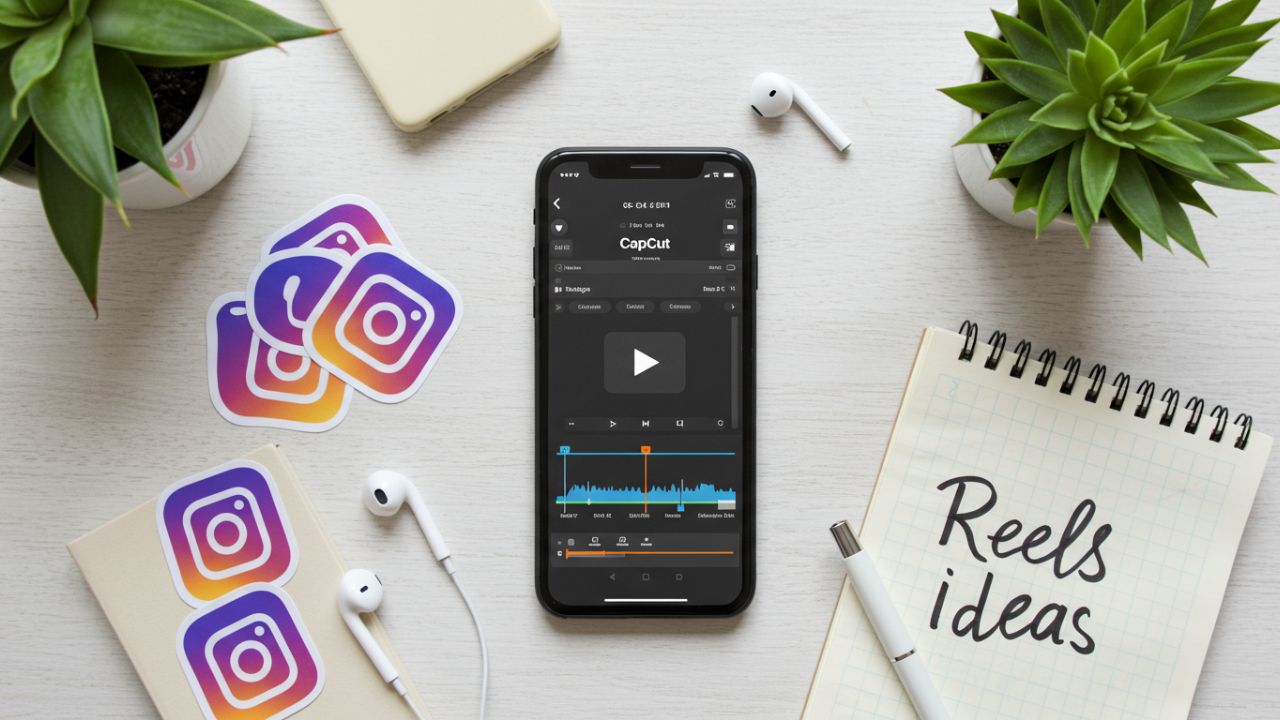
Creating stunning and engaging Instagram Reels doesn’t have to be time-consuming or complicated. With the help of CapCut, a user-friendly and powerful video editing app, you can quickly edit, stylize, and publish Reels that captivate your audience. This guide walks you through every step of the process, from downloading the app to sharing your final video.
1. What is CapCut?
CapCut is a free video editing application developed by ByteDance, the same company behind TikTok. It offers a variety of tools including trimming, filters, transitions, effects, and more. With its intuitive interface, even beginners can craft professional-quality videos in minutes.
2. Why Use CapCut for Reels?
- Free and accessible on both Android and iOS
- No watermarks when exported
- Pre-set formats for social media
- High-quality filters and effects
- Easy-to-use timeline and layer editing
CapCut streamlines the editing process for Instagram Reels, helping creators save time while maintaining quality.
3. Getting Started
Download and Install CapCut:
- Android: Google Play Store
- iOS: Apple App Store
Set Up Your First Project:
- Open CapCut and tap “+ New Project”
- Select your video clips or photos
- Tap “Add” to import to the timeline
4. Essential Editing Features
CapCut comes loaded with powerful tools:
- Trim & Split: Cut unwanted parts and refine timing
- Text & Titles: Add stylized captions with animations
- Filters & Effects: Adjust mood and color grading
- Transitions: Smooth changes between clips
- Speed Control: Create slow-motion or time-lapse effects
- Audio Tools: Add music, sound effects, and voiceovers
- Stickers & Overlays: Decorate your video creatively
5. Creating a Reel: Step-by-Step
Step 1: Choose the Right Aspect Ratio
- Select 9:16 for Reels (vertical video)
Step 2: Trim Your Clips
- Tap each clip and adjust the start and end times
- Use Split to cut clips into sections
Step 3: Add Music
- Tap the “Audio” tab
- Import a track or use CapCut’s music library
- Sync key moments to beat drops
Step 4: Apply Filters and Effects
- Choose a consistent filter to maintain aesthetic
- Use transition effects like “Flash” or “Zoom”
Step 5: Add Text and Stickers
- Insert eye-catching captions
- Use animated stickers for personality
Step 6: Adjust Speed
- Speed up for energy, slow down for dramatic effect
Step 7: Final Review
- Watch the full edit and make refinements
6. Advanced Tips and Tricks
- Keyframe Animation: Create smooth custom animations for text or stickers
- Green Screen (Chroma Key): Replace backgrounds creatively
- Auto Captions: Generate captions automatically for accessibility
- AI Effects: Try trending effects like 3D Zoom or Cartoonify
- Templates: Use Reels-specific templates for faster editing
7. Exporting and Uploading to Instagram
- Tap the Export button (top right corner)
- Choose resolution (1080p recommended) and frame rate (30fps or 60fps)
- Tap Export
- Share directly to Instagram or save to your gallery
8. Common Mistakes to Avoid
- Ignoring audio sync with visuals
- Overusing effects that distract
- Not optimizing for vertical format
- Forgetting to include call-to-action (e.g., Like, Share, Follow)
9. Conclusion
CapCut is an incredible tool for anyone looking to quickly and effectively create compelling Instagram Reels. With a bit of creativity and this guide, you’ll be producing professional-quality Reels in no time.
Whether you’re a content creator, influencer, or brand, mastering CapCut can take your social media strategy to the next level.

Leave a Reply