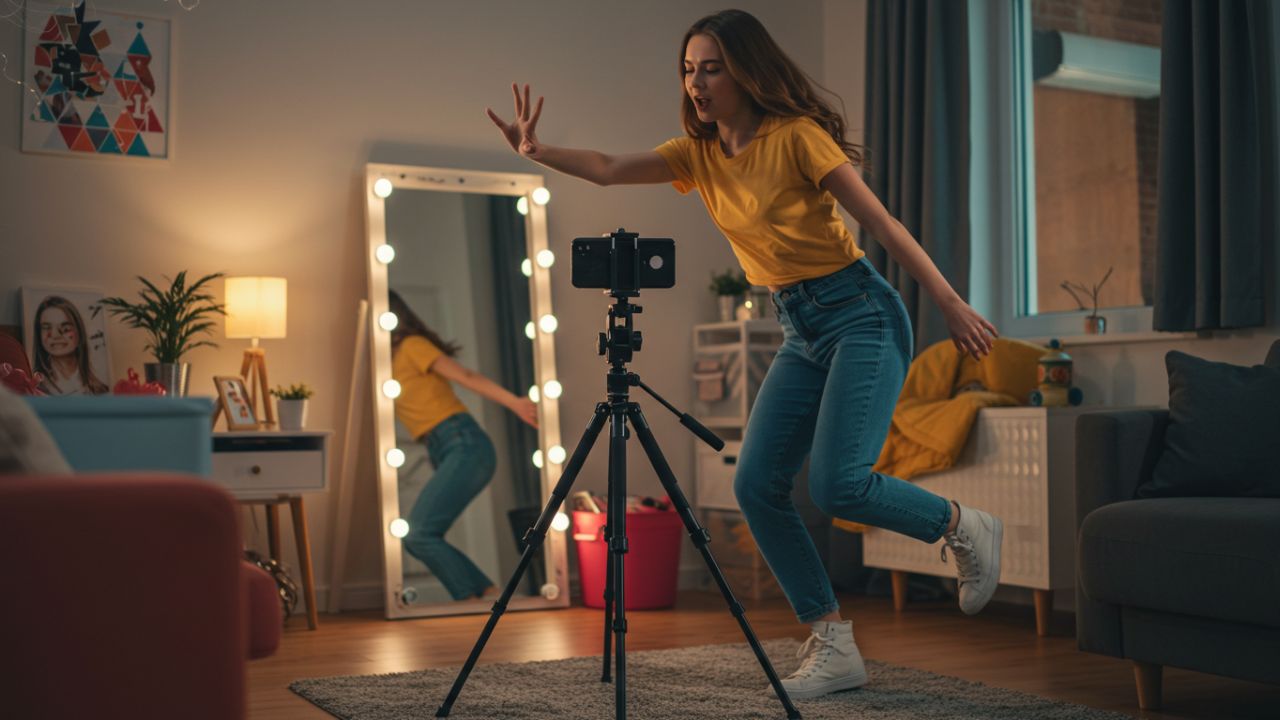
Reels have become one of the most engaging formats on Instagram. From fashion changes to travel snippets and lip-syncs, one common element that separates average Reels from viral ones is smooth transitions. Creating these seamless effects can look intimidating, but with the right tools and guidance, anyone can do it.
In this in-depth guide, you will learn how to plan, shoot, edit, and publish a smooth transition Reel step-by-step, even if you’re a beginner.
1. Understanding Smooth Transitions in Reels
What Is a Smooth Transition?
A smooth transition is a seamless visual switch between two clips that feels fluid and synchronized. Rather than abruptly cutting from one scene to another, a smooth transition uses camera movement, body motion, or editing techniques to blend two shots together naturally.
Why Do Smooth Transitions Matter?
- Increase Viewer Retention: Keeps the audience engaged.
- Aesthetic Appeal: Creates a professional and polished look.
- Viral Potential: Makes your content stand out.
2. Pre-Production: Planning Your Reel
Step 1: Conceptualize Your Idea
Start by deciding what the Reel is about:
- Outfit change?
- Location switch?
- Hair or makeup transformation?
- Storytelling or educational content?
Step 2: Script and Storyboard
Write down a quick script and visualize each scene. This helps ensure consistency between shots, which is critical for smooth transitions.
Step 3: Choose the Right Music
- Browse Instagram’s music library.
- Use songs with clear beats or drops that match your transitions.
Step 4: Prepare Props and Environment
- Ensure consistent lighting.
- Clean and uncluttered background.
- Use a tripod or a stable surface.
3. Production: Filming the Transition
Step 5: Select a Transition Type
Here are some popular smooth transitions:
| Transition Type | Description |
|---|---|
| Spin Transition | Rotate the camera while switching outfits |
| Hand Cover | Cover lens with hand and remove it to reveal |
| Jump Cut | Jump out of frame and land into new scene |
| Body Turn | Turn your body to hide the camera |
| Swipe | Swipe your hand across the screen |
Step 6: Record Your First Clip
- Mark your position (floor tape or visual marker).
- Use consistent camera angle and distance.
- End your clip mid-motion for easier alignment.
Step 7: Change Outfit or Scene
Make the change necessary for the second clip. Keep lighting and camera placement the same.
Step 8: Record the Second Clip
- Start mid-motion that matches the first clip.
- Try to mimic your previous motion.
Pro Tip: Use your smartphone’s gridlines and markers to maintain alignment.
4. Post-Production: Editing the Reel
Step 9: Choose Your Editing Tool
Popular tools include:
- Instagram Reel Editor (in-app)
- CapCut
- InShot
- VN Video Editor
- Adobe Premiere Rush
Step 10: Trim and Align Clips
- Use frame-by-frame editing.
- Align the end of the first clip with the start of the second clip.
- Match body or camera movement for continuity.
Step 11: Add Music and Effects
- Sync clips with music beats.
- Add sound effects for emphasis.
- Use overlays like flashes or transitions to enhance the cut.
Step 12: Add Captions and Hashtags
- Use Instagram’s caption tool.
- Add trending and niche-specific hashtags.
Example:
#SmoothTransition #InstagramReels #OutfitChange #BeforeAfter #ReelTipsStep 13: Export in High Quality
- 1080 x 1920 resolution
- 30 fps (frames per second)
- Avoid adding unnecessary filters
5. Publishing the Reel
Step 14: Choose the Right Time to Post
Use Instagram Insights to determine peak engagement times.
Step 15: Write an Engaging Caption
Good captions spark curiosity and interaction:
“Wait for it… You won’t believe the transformation!”
Step 16: Tag Relevant Accounts
Tag collaborators, brands, or repost accounts that might share your content.
Step 17: Add Location
Especially useful for travel or event-based Reels.
Step 18: Post and Engage
Respond to comments, DMs, and re-share your Reel in Stories.
6. Advanced Tips for Smoother Transitions
- Use Color Matching: Match the dominant colors in both clips.
- Use Slow Motion or Speed Ramps: Temporarily slow or speed up clips.
- Add Zoom-In or Zoom-Out Transitions.
- Use the Clone Tool in Apps like CapCut: Useful for overlapping actions.
- Practice! The more you do it, the smoother you get.
7. Examples of Viral Smooth Transition Reels
Example 1: Outfit Change
- Transition: Spin
- Music: Pop beat
- Views: 2.5M
Example 2: Makeup Before/After
- Transition: Hand Cover
- Views: 1.2M
Example 3: Travel Location Switch
- Transition: Jump Cut
- Views: 3.9M
Conclusion
Creating smooth transition Reels may take practice and patience, but the impact they have on viewer engagement is immense. By following this step-by-step guide and incorporating the tips shared, you’ll be on your way to producing polished, professional-looking Reels that captivate your audience.
So grab your phone, plan your idea, and hit record. The next viral Reel could be yours!

Leave a Reply